Getting started
In Randio Open Dashboard Open Settings → Sync
Install Randio from the Shopify App Store and it opens on a short setup: four steps, then a checklist on your dashboard. The data import is the only step that waits on anything, and on most stores it finishes in under a minute.
1. Terms
Read the Terms of Service and the Privacy Policy in the box and scroll to the end; the checkbox unlocks once you have. Randio records the version you accepted.
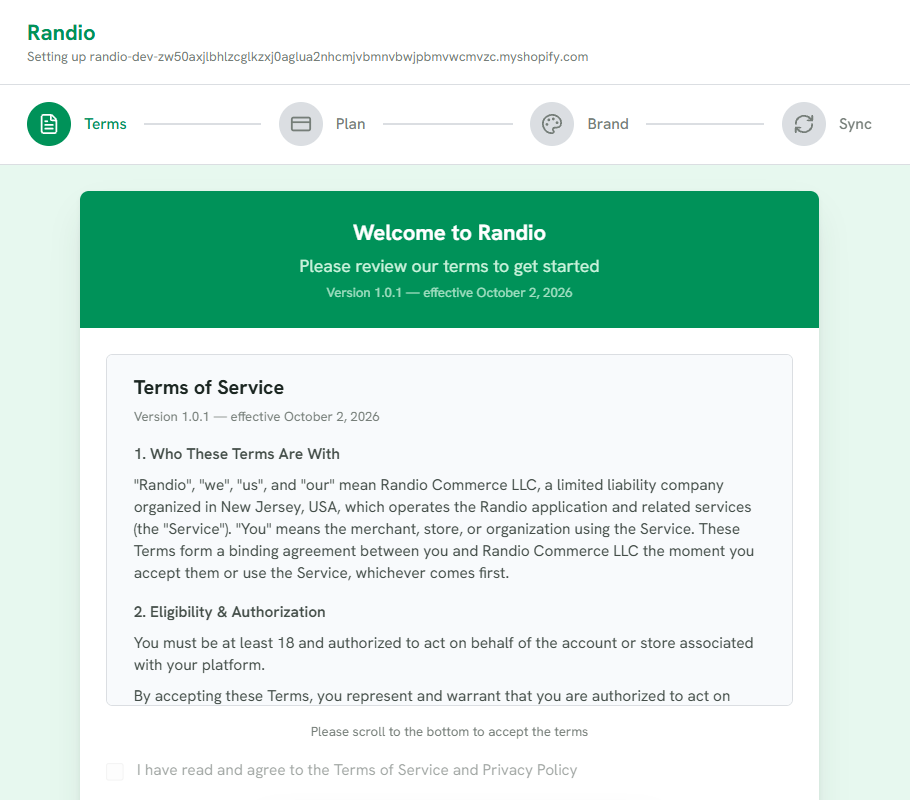
1 The four steps, each checked off as you finish it.
2 The Terms of Service and the Privacy Policy. Scroll to the end of the box.
3 The checkbox unlocks once you reach the end.
2. Plan
There is one plan: $99 a month, 8.5% of the discounted price of items bought at a Randio price, and 750 outreach catalogs included each month, then $0.02 each. Review and approve on Shopify opens Shopify's own approval page. Shopify adds the charge to your regular Shopify bill and sends you back to Randio once you approve. See Your plan.
If you reinstall Randio, Shopify asks you to approve a plan again, even while the previous subscription runs to the end of its cycle.
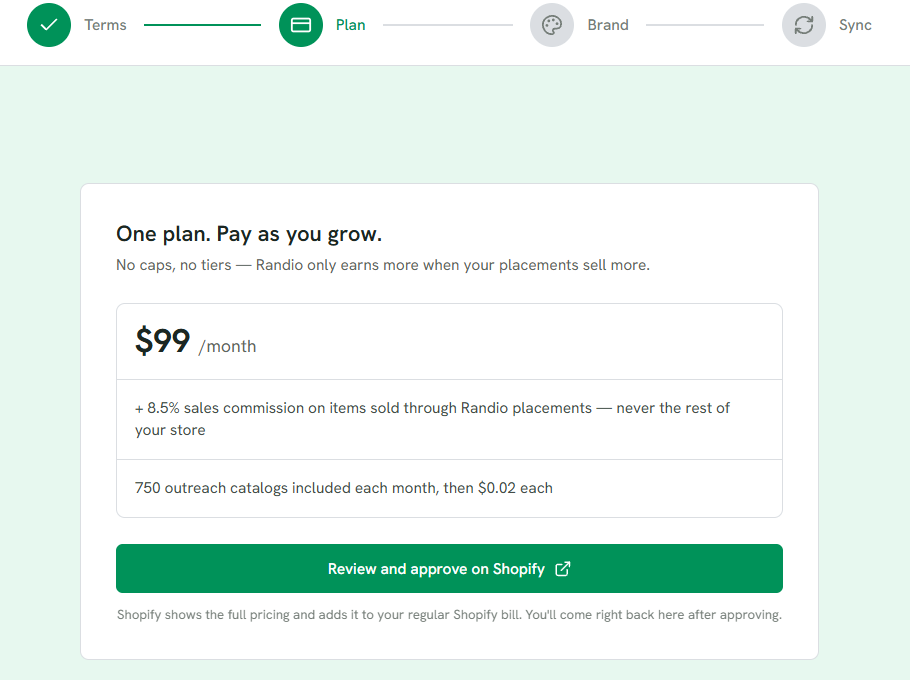
1 The plan: the monthly base, the commission, and the outreach catalogs included.
2 Opens Shopify's approval page; you come back here after approving.
3. Brand
Your store name and logo, as catalog pages and emails show them. Both can be changed later under Settings → Branding. See Custom branding.
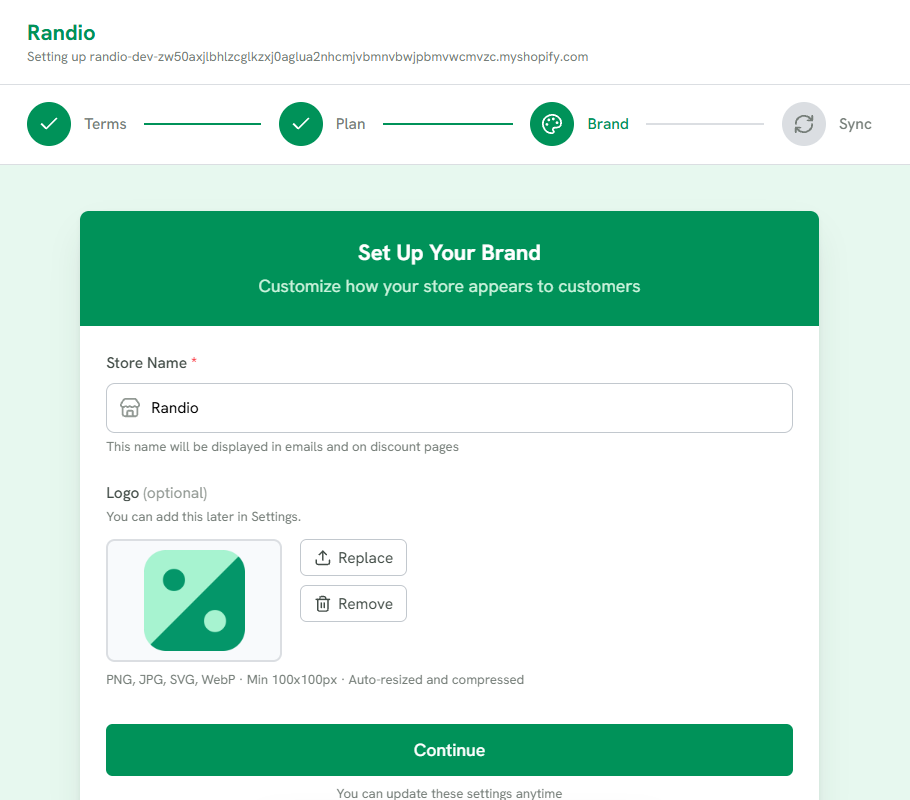
1 The store name, shown in emails and on catalog pages.
2 The logo is optional; one per store, replaced by a new upload.
3 Continue starts the import.
4. Sync
Randio imports your products, collections, customers and orders from Shopify. Go to dashboard anyway lets you carry on while it finishes. When it is done, Randio builds a starting set for you: an Active Subscribers group, the Everyone Else catch-all, a Starter Strategy over all your products, a Default Template, and the ready-made strategies your store qualifies for.
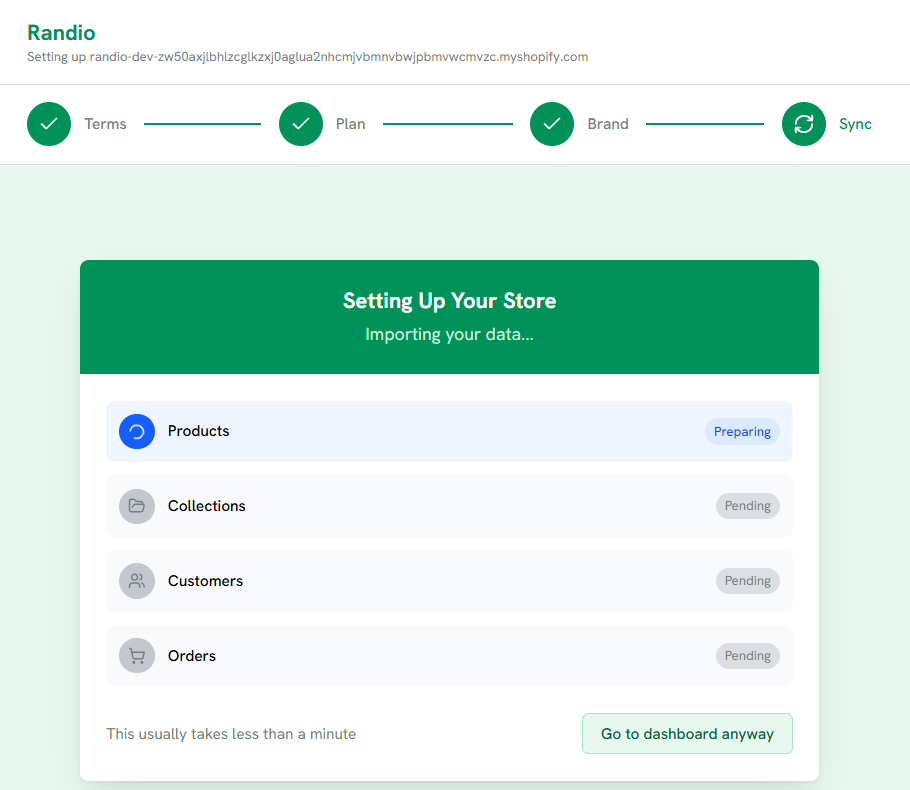
1 Each kind of data, with its progress.
2 Carry on to the dashboard while the import finishes.
Finish setting up
The dashboard then shows Finish setting up Randio: five steps, each checked for you as you complete it and each opening its action in place. Install the Theme files, register the Checkout discount, turn on the App embed, add the Deals block, and create your First campaign. Nothing changes in your theme or your store until you press a step's button. The Deals block step can be skipped or marked done if Randio cannot see the block where it checks — see Storefront block. The checklist disappears once you have a campaign, and comes back in repair mode if a piece goes missing after a reinstall.
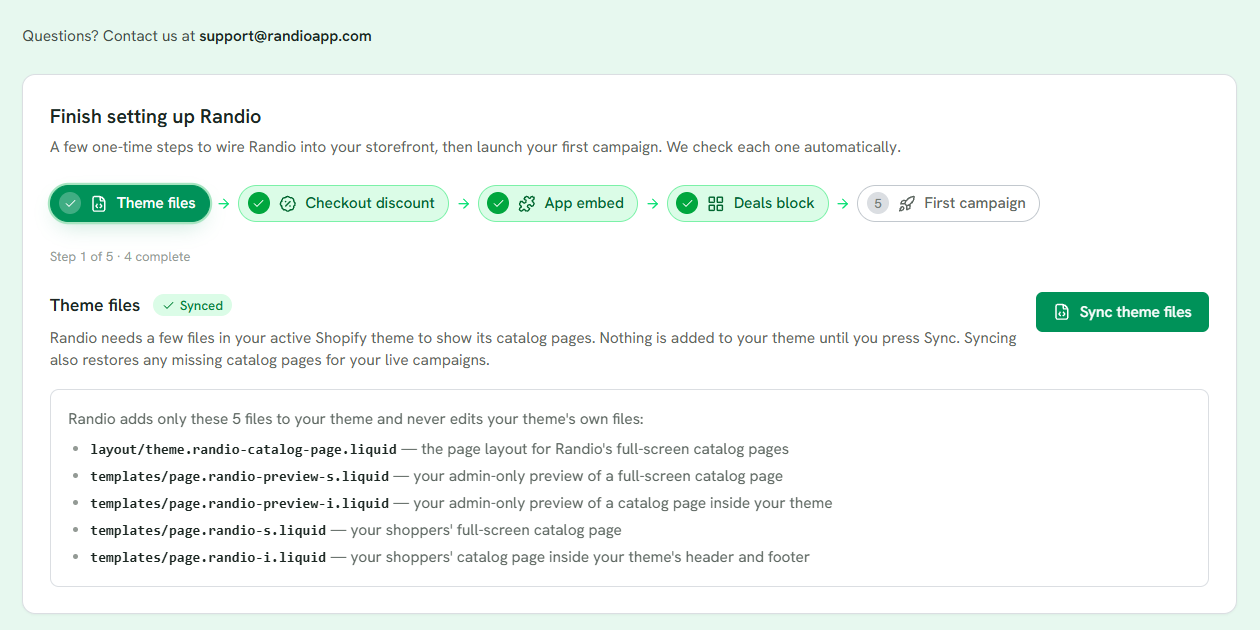
1 The five steps. A check means Randio found that piece in your store.
2 The selected step: what it adds, and why.
3 Nothing is added until you press it.
Related: Sync and theme setup, Storefront block, the article Setting up your first campaign.